
Quilt in Sections then Join them Easily
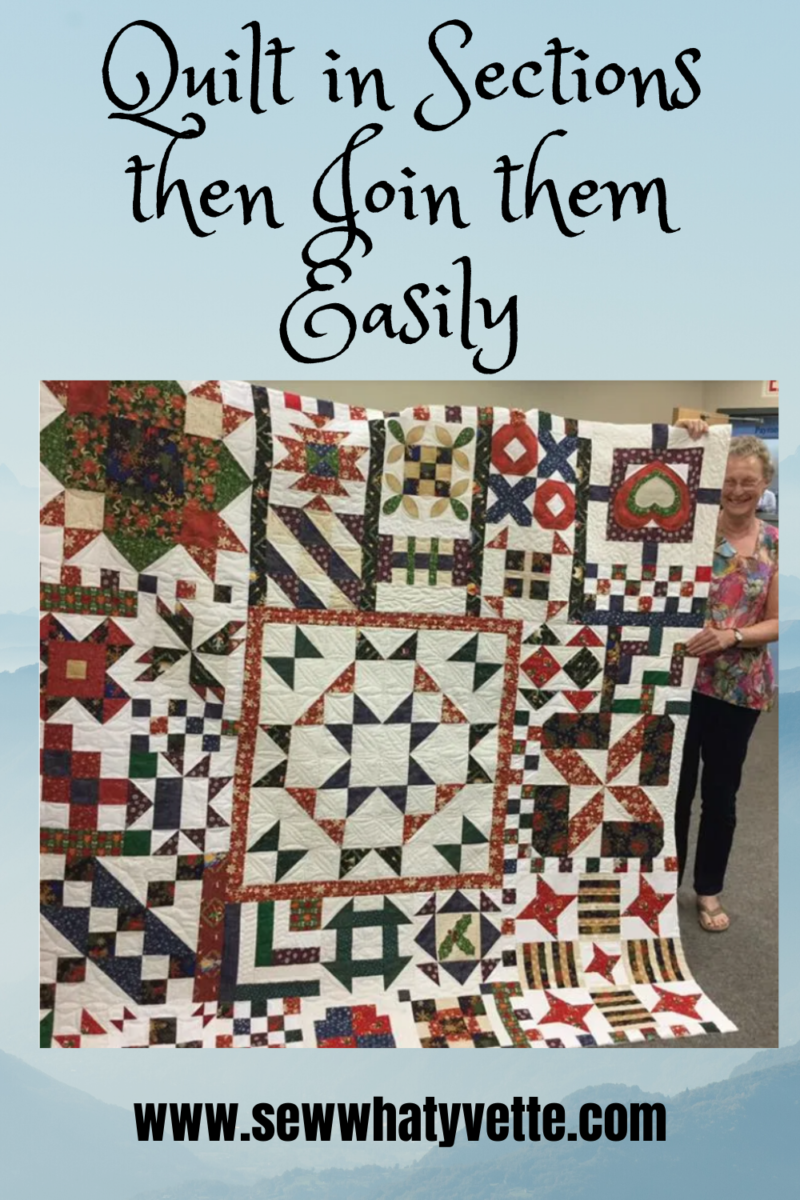
I made this quilt.
Quilt in Sections is the way I completed it. Then I joined the sections, and here’s how I did that.
![]()
![]()
![]()
![]()

![]()
![]()
![]()
![]()

And I loved every (almost) block. I also really, really like the setting. Thank you Pat Sloan. Asymmetrical.
I used all left-over Christmas prints from other projects, and white on white or cream background fabrics. I learned a lot.
Quilt in Sections
My next challenge was to machine quilt in sections. Pat’s asymmetrical layout was my inspiration. I decided to quilt it in 3 sections, then join the sections together.
![]()
![]()
![]()
![]()

I free motion quilted section 1 all the way to the edges. Then machine quilted most of section 2, leaving about 2 inches unquilted along the edge where it meets section 1. Section 3 was quilted to the outer edges, but I left 2 inches unquilted along the edge that will join to the other piece.
I trimmed the edge of section 1’s batting and backing even with the edge that meets section 2. Then with the right sides of the quilt pieces facing each other, I pinned all the layers of section 1 to just the top of section 2, and sewed it using 1/4 inch seam allowance. I sewed with section 2 on top so I could keep the extra batting and backing flipped out of the way.
![]()
![]()
![]()
![]()

![]()
![]()
![]()
![]()

After sewing, flip it over to check the right side, to make sure everything matches the way it should.
On the back, finger press the seam allowance toward the single layer, and trim the batting to the edge of that seam allowance. I used chalk to mark the cutting line.
![]()
![]()
![]()
![]()

Smooth the batting into place, then cut the excess backing fabric 1 inch beyond the edge of the seam allowance. I found it helpful to mark the cutting line with chalk.
![]()
![]()
![]()
![]()

Fold the backing fabric to the inside so the fold extends 1/4 inch beyond the original sewing line and pin into place, pinning across the seam line.
![]()
![]()
![]()
![]()

Working from the right side, stitch in the ditch along the original seam line, which will catch the edge of the backing fabric. Leave the pins in place (you can see them easily) , sew slowly, and walk your machine over each pin. Remove the pins.
![]()
![]()
![]()
![]()

This picture shows the completed seam before it was pressed, it’s in the center. Yes, it’s visible. No, there are no quilt police in my house.
Now you can go back and complete the unfinished machine quilting of section 2. Section 3 is attached the same way.
![]()
![]()
![]()
![]()

I’m going to do more of this kind of machine quilting, and am certainly joining Pat Sloan in more of her projects. Her next one is called Grandma’s Kitchen, and I hope to see you there.
![]()
![]()
![]()
![]()


Yvette, this is such a great idea!! You have more control of the quilt when it comes to quilting each section.
Love the colours you selected for each square. Stunning!!
it worked very well for me, sew much sew that I’m going to make a video about the process
Thank you Yvette for sharing this Amazing technique… I would love to see a video..
I’m considering a video Suzanne, and will let you know. Thanks for the input!
thank you Yvette for sharing this info, exactly what I needed to learn. A friend asked me to make a queen size memory quilt, but with my sore arm I wasn’t sure how to finish the quilt. With your technique, I think I can finish the quilt without further damage to my arm.
Thank you very much.
You’re most welcome Luchi, all the best for a speedy recovery.
ah ha wish I’d found this before I started lol now I’m trying to work out a way to join up my sections of quilt that I didn’t leave extra on the edges for (I’ll try your way next time) I think it’s a case of “iron on something” to join them together then hide it under some binding…. thanks for your inspiration
It sure is a learning curve isn’t it? Wishing you all the best.
Does the batting need to be sewn together? And how to line up sashing etc on front?
Hi Marilyn, I did not join the batting, as it was quilted down after I joined the pieces. As for sashing, this quilt doesn’t have any, so I can’t answer that, sorry.
I have done a few quilts like this. I started with doing them block by block or row by row. Then we decided to get a king size bed and I enlarged my last queen size to a king by removing the binding and adding a border in this way.